
Mortal Shell 2 Gloom Farming: Uses, Recovery and Upgrades
Learn what Mortal Shell 2 Gloom is used for, how death recovery works, and what the official Week 1 update changed without an invented farming table.
Mortal Shell 2 Gloom is described as the Harbinger’s upgrade currency. Current route material says enemies drop it, a death leaves it at the death location for recovery, and Beacons use it to level the Harbinger. The official Week 1 update also adds rewards to the Gloom siphon. Exact level costs, drop values, and the complete farming table are To be confirmed.
What changed for Gloom in the Week 1 update?
The official August 29 update adds extra rewards, including Glimpses, to the Gloom siphon. This is a confirmed reward-system change, not a complete Gloom economy table. The same update includes Tarcore and Tarstone changes, so keep those resources separate when comparing a route or an upgrade cost.
What Gloom is used for
The strongest explanation describes Gloom as a currency for improving the Harbinger at Beacons. This makes it part of the basic progression loop rather than a weapon or Shell upgrade material. Spend it when the next level improves your chance of surviving the route you are about to enter.

The current material does not publish one complete cost curve or a final maximum level. The sources also use different terms for some upgrade systems, so do not merge Gloom values with Tarforge smithing materials. Keep the currency role and the missing table separate.
How enemies provide Gloom
The GamesRadar page says Gloom is earned by killing enemies. It also says enemies that respawn after the player dies can drop Gloom again, which makes a repeated route a possible source of currency. The route does not provide one universal drop amount for every enemy type.
Farm in an area where you can defeat enemies without risking the entire balance you are carrying. A familiar weapon and Shell will usually make the route easier to repeat than a speculative high-damage setup. Exact respawn timing, enemy multipliers, and best farming location are To be confirmed.
What happens when you die
The current game version says Gloom remains at the death location and can be recovered. That gives the player a reason to return to the failed route instead of treating the currency as permanently lost. The page does not confirm whether every death, boss arena, or special hazard follows the same recovery rule.
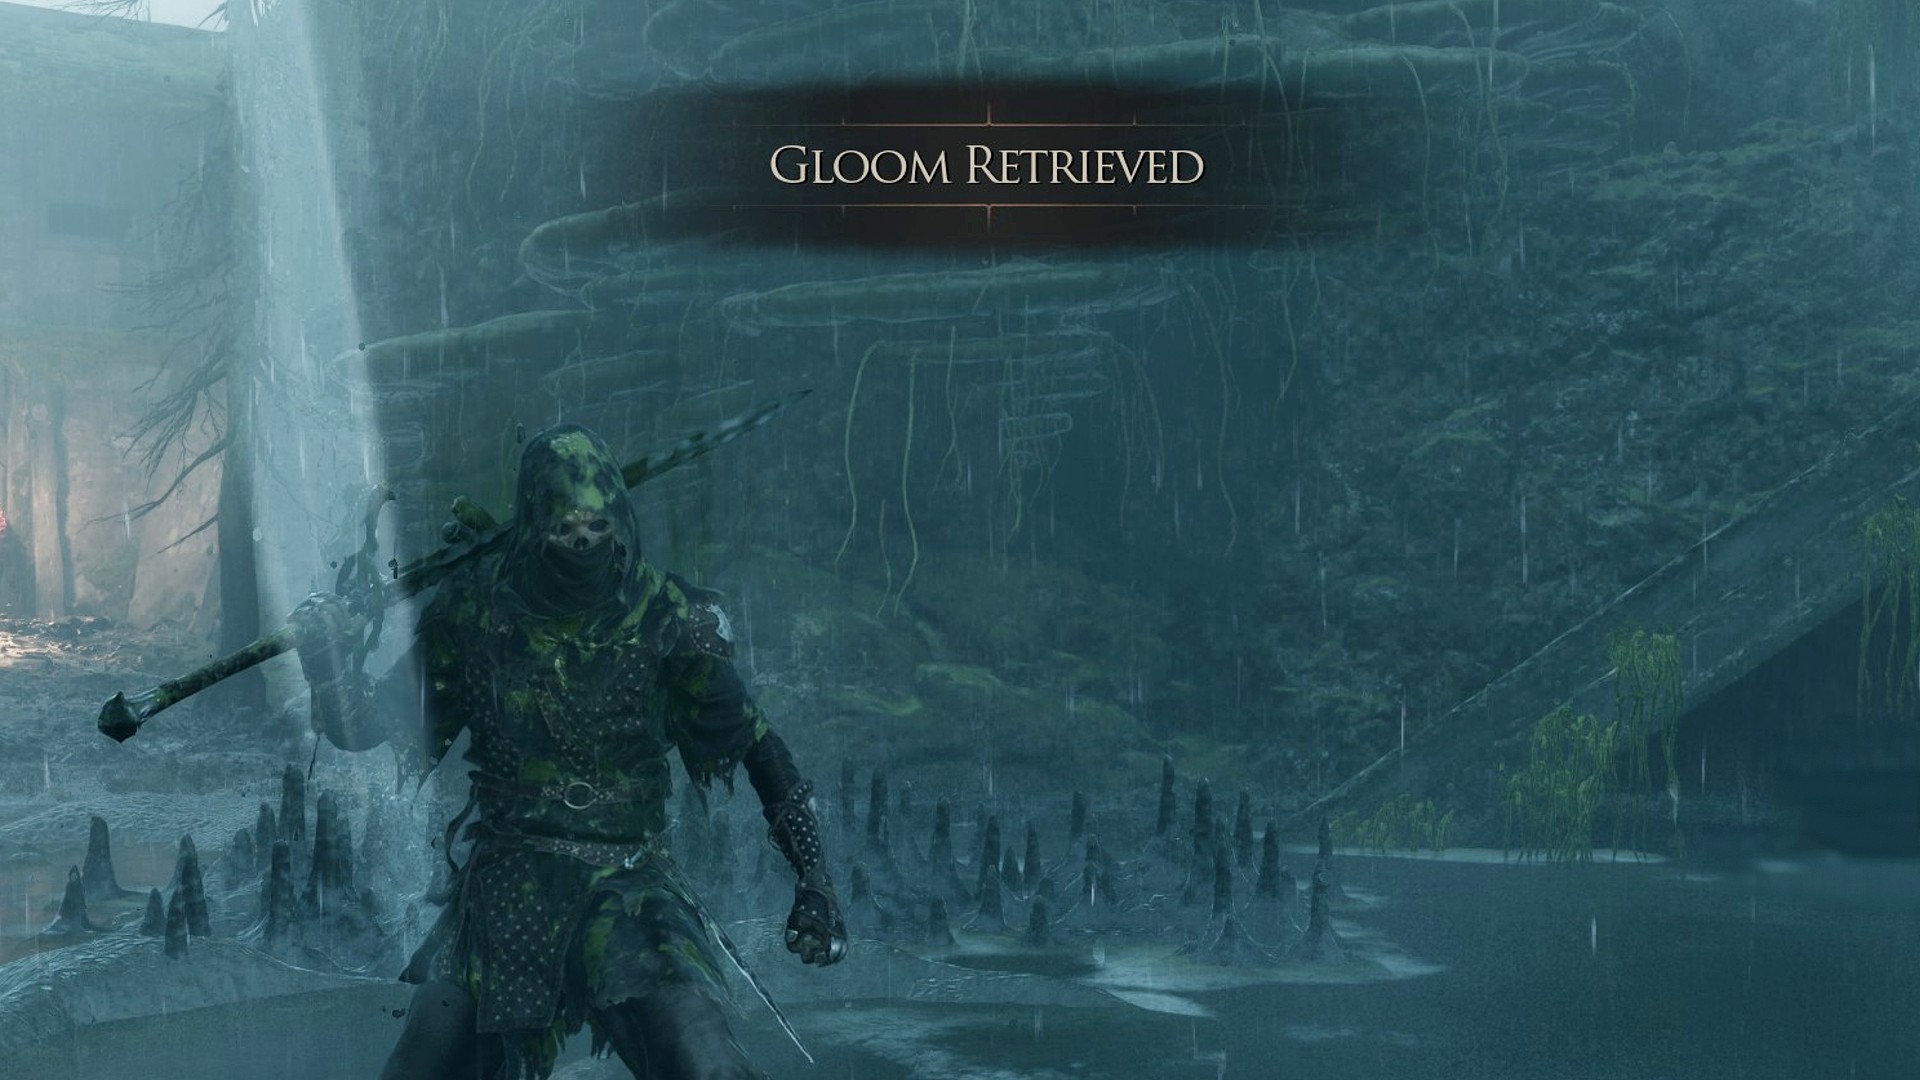
Before a risky boss attempt, spend Gloom at a Beacon if the current route allows it. If you die, decide whether the recovery path is safe enough for the build you are using. A lost recovery, exact retrieval timer, or platform-specific behavior is To be confirmed.
Gloom and Beacons
The route treats Beacons as the place where the Harbinger is leveled. Other material also describes Beacons as route anchors that can be cleansed and used for travel or rest. This makes a newly unlocked Beacon valuable even when no farming loop is planned.
Do not confuse cleansing a Beacon with spending Gloom at it. The route notes use both actions, yet they do not publish a single menu sequence or cost table for every Beacon. The exact connection between Beacon state, travel, and level access is To be confirmed where the build does not display it.
A safer farming routine
Choose a short loop near a Beacon, defeat only the enemies you can read consistently, and return before the carried Gloom becomes a problem. Spend the currency when you reach a useful level, then repeat the loop if another upgrade is close. If a death occurs, recover the Gloom only when the route is understood.
Record the enemy, route, number of kills, and displayed currency gain if you are building a current farm table. The current game version supports the general drop and recovery behavior, not a complete numeric guide. Any exact efficiency ranking or maximum level remains To be confirmed.
How should you spend Gloom?
Use a Beacon before a route where one extra level changes your margin for error. The current game version connects Gloom spending with Harbinger leveling, while the separate Tarforge notes use Coins, smithing materials, and Tarcore for equipment systems. Keeping those currencies separate prevents a weapon upgrade guide from being presented as a Gloom farming answer.
If an upgrade is close, a short familiar loop can be more useful than a deep expedition. Clear enemies whose attacks you can read, return to the Beacon, and spend the displayed amount before taking a new risk. The pages do not prove that a particular enemy, region, or route gives the best return, so any farming recommendation should stay tied to the build that produced it.
What should a current farm log contain?
Write down the Beacon used, the enemy group, the number of kills, the Gloom shown before and after the loop, and whether the enemies returned after death. This creates a comparison that another player can reproduce. It also keeps a community observation separate from a universal drop claim.
Do not promise an exact death penalty, recovery timer, respawn cycle, or maximum level from the current guide. The current version supports enemy drops, death recovery, and Beacon leveling, but the available details do not supply a complete numeric economy. Those missing values remain To be confirmed until a full-game client or official update publishes them.
Does Gloom return after death?
The route says the currency stays at the place where the player dies and can be recovered on a return trip. That rule gives a failed run a visible recovery objective, yet it does not explain how every boss room, hazard, or special death behaves. Treat the recovery as a route decision rather than a guaranteed free return.
Before carrying a large amount, make sure the nearest Beacon and the path back are familiar. Spend Gloom when a level is available, or recover it only after checking whether another enemy group has respawned. The page supports the general recovery rule, while the exact retrieval behavior on every platform is To be confirmed.
What is the difference between Gloom and Gloom-related costs?
Gloom is described as the currency used to level the Harbinger at Beacons. The upgrade notes separately mention Coins, named Tarforge materials, Tarcore, and a Balance Patch 1 notes about smelting costs in Gloom. Those entries should not be collapsed into one universal resource table.
Read the menu label in the current build before spending anything. If a forge function asks for Gloom, record the operation and the patch separately from Beacon leveling. A complete list of Gloom uses, level costs, death recovery rules, and post-patch values is To be confirmed.
What is a sensible Gloom routine?
Use one short route near a Beacon and keep the number of enemies constant when comparing runs. Return to spend the currency before testing a deeper area, then record whether the next level changes the displayed requirement. This gives players a practical habit without claiming that one route is the universal farm.
The current game version supports enemy drops, death recovery, and Beacon leveling. They do not publish a complete economy, so exact values, respawn rules, and maximum level remain To be confirmed.
Related Articles
combat
Mortal Shell 2 Enemies and Encounter Combat Tips
Review Mortal Shell 2 enemies shown in gameplay and learn how posture, Harden, shields, sidearms, and careful spacing shape encounters.
combat
Mortal Shell 2 Harden Mechanic and Combat Guide
Learn how the Mortal Shell 2 Harden mechanic protects one exchange, creates Break Damage opportunities, and fits beside parry, dodge, and Resolve.
combat
Mortal Shell 2 How to Parry Combat Guide
Learn the Mortal Shell 2 how to parry routine through attack tells, posture pressure, Harden as a fallback, careful riposte openings, and safer practice.
Was this helpful?
Thanks for the feedback!