Mortal Shell 2 Sidearms Locations and Upgrade Guide
Track the Mortal Shell 2 sidearms listed in guides, from Nayleshotte and Lute to dungeon weapons, key routes, beta limits, and completion notes.
The Mortal Shell 2 sidearms material lists eight ranged weapons across the prologue, Fainweald, and Mammon. The route names Nayleshotte, Forgotten Crossbow, Salvaged Trebuchaxe, Troubadour’s Lute, Triach Repeater, Ballistazooka, Cursed Child, and Caged Hystrix. That eight-item count comes from a community route, so the final retail total and achievement behavior are To be confirmed.
The complete sidearm checklist
Nayleshotte is listed as an automatic prologue reward. Forgotten Crossbow is placed in Flooded Village behind the Damp Key, while Salvaged Trebuchaxe is placed on a body in the final room of Ravaged Hideout. Troubadour’s Lute is an open-world pickup on the One Legged Wolf Tavern stage.
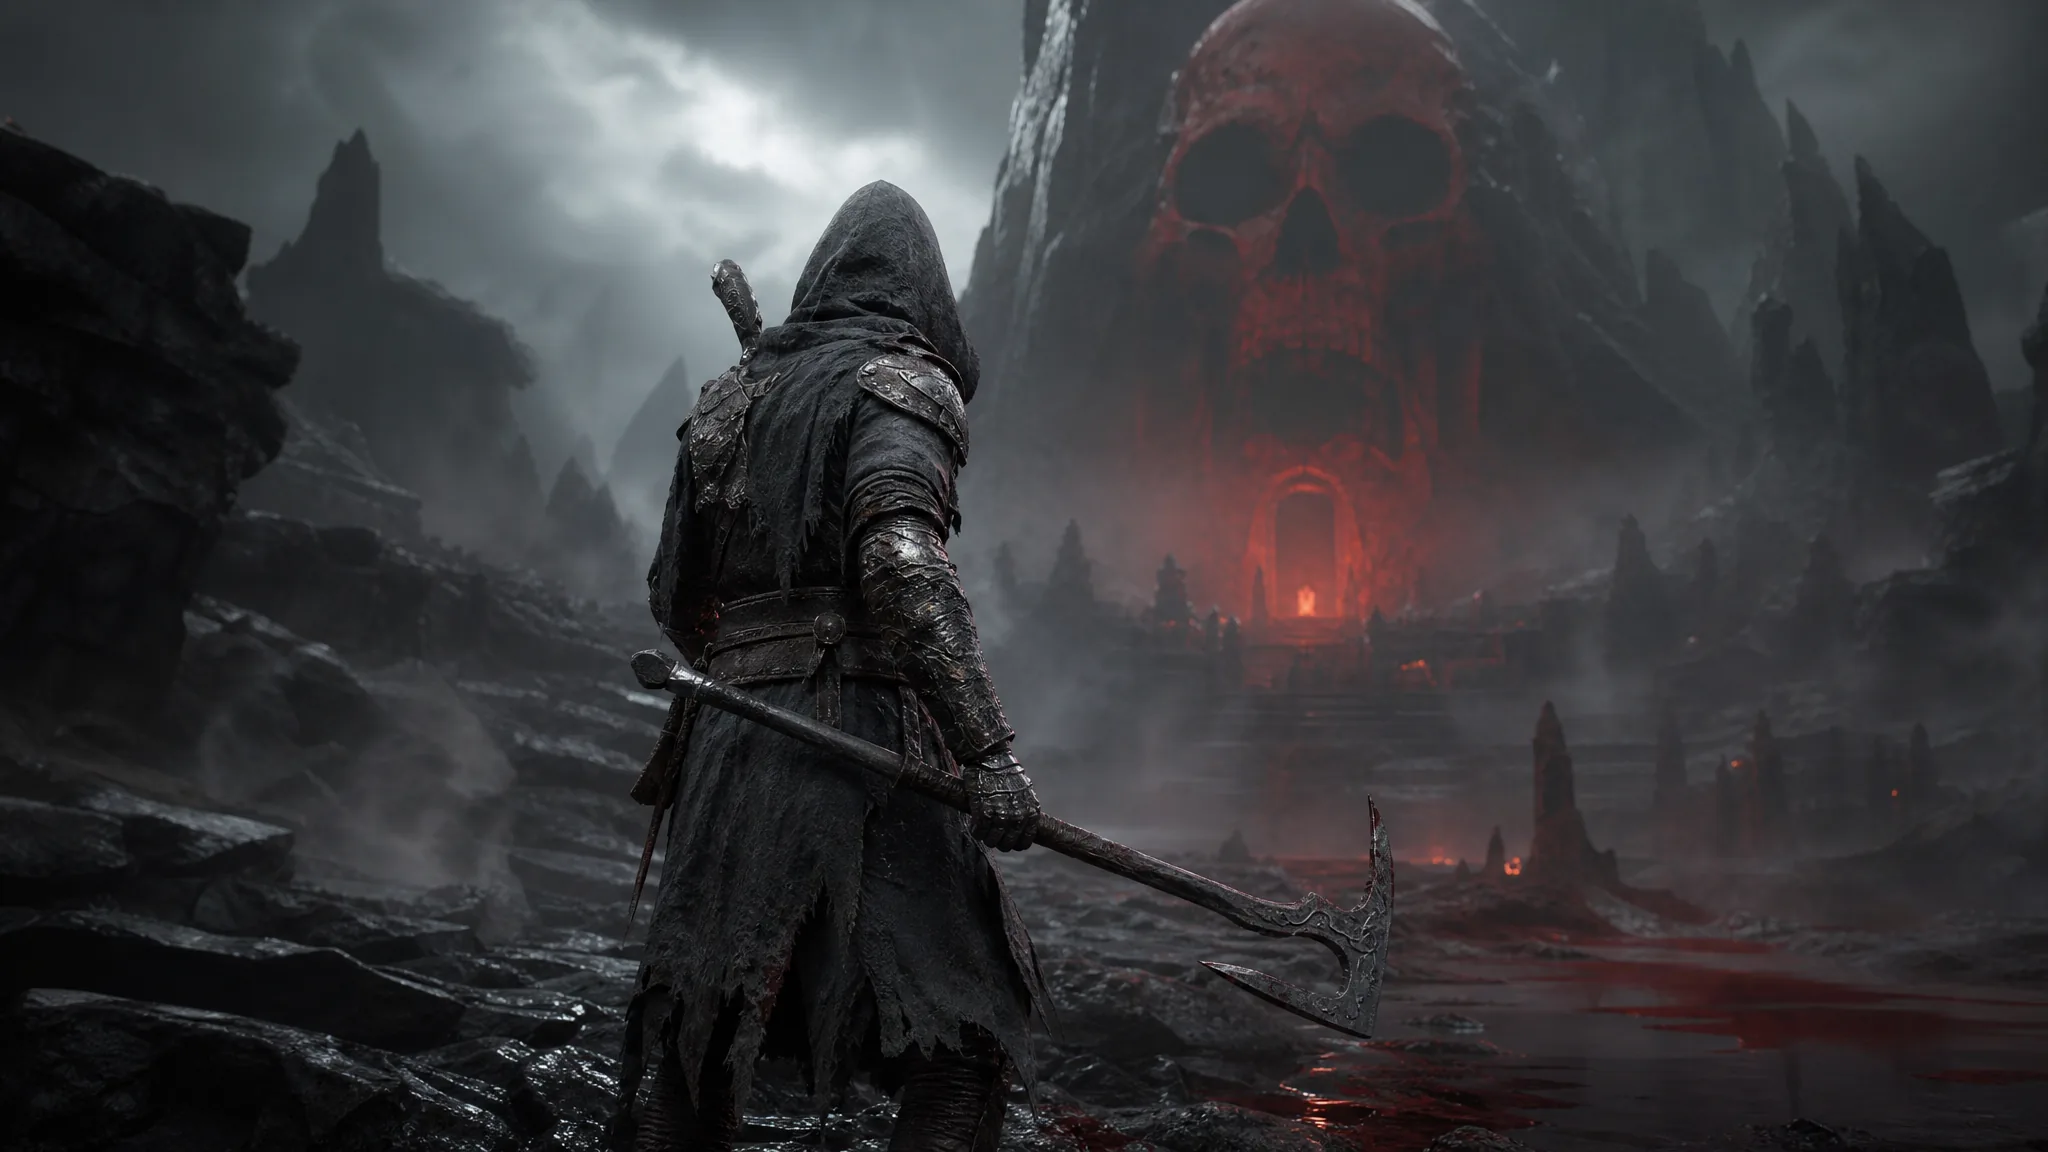
The same guide places Triach Repeater in the first lit area of Blackwell Cavern and Ballistazooka at the end of Sentry’s Grave after the Subjugated Guardian encounter. Cursed Child is listed in the Revered Beacon dungeon, and Caged Hystrix is placed near the exit of Chamber of Becoming. These route names are guides confirmation, not a publisher checklist.
Early sidearms in the prologue and village
Nayleshotte is described as the starting sidearm and is received during the prologue alongside the Iconoclast sword and Untarnished Seal. The displayed guide describes it as a close-range spread weapon. It does not provide a final damage table, upgrade cost, or confirmed retail balance value.
The Troubadour’s Lute appears on the stage inside the One Legged Wolf Tavern, southeast of the One Legged Wolf Beacon. The route note connects access to Mether’s Breath because a corrupted growth blocks the road from the Mushroom Village Entrance area. Gragu is also listed in the tavern, yet the exact route state for every retail build is To be confirmed.
Forgotten Crossbow and Salvaged Trebuchaxe
The Forgotten Crossbow route begins near the Blackridge Pass Beacon. The route sends the player through a boarded stone arch, down lifts into Flooded Village, and toward a box near the back left that holds the Damp Key. Returning to the central building and opening its locked door leads to the crossbow.
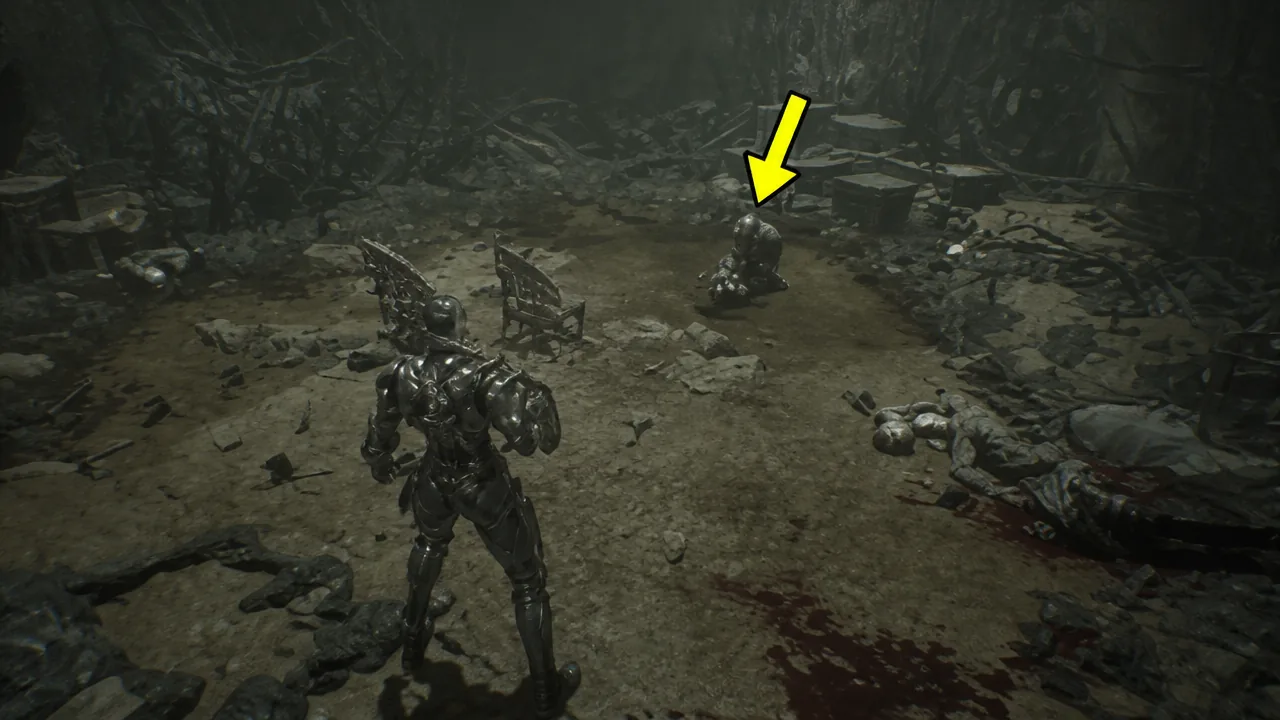
Salvaged Trebuchaxe is described south of the Gloomshade Grove Beacon in Ravaged Hideout. The route remains sealed until the Bloodcursed Lithopod is defeated, after which the player follows the single path to the final room. The launcher is from a body there, while its final damage and ability information are To be confirmed.
Triach Repeater and Ballistazooka
The Triach Repeater is listed inside Blackwell Cavern in Mammon. From Castigator’s Keep, the route drops to a lower level and continues north toward a dark cave. The route places the weapon on the ground in the first lit area reached during the dungeon.
Ballistazooka appears in Sentry’s Grave, reached from Gate of Mammon. The route includes Ballista Head enemies and ends with the Subjugated Guardian, whose explosive bolts make the encounter a ranged-pressure test. The route says defeating that miniboss gives the Ballistazooka, while final drop rules and weapon stats remain To be confirmed.
Cursed Child and Caged Hystrix
The Cursed Child route starts at Sester’s Gate and continues toward the Revered Beacon dungeon. The route warns about a central tower’s golden light, which tracks the player and drains health until line of sight is broken. The route then moves around the area and up to the tower so the light can be disabled before collecting the sidearm.
Caged Hystrix is placed near the exit of Chamber of Becoming. The route begins at The Silent Steps and follows Sariel after the encounter moves toward the dungeon. The route says all four tombstones must be destroyed before Sariel can be finished permanently, after which the sidearm waits near the exit.
Upgrade and collection limits
The official game description confirms that Mortal Shell II includes powerful sidearms and upgrade systems. It does not confirm the eight-name list, a universal best sidearm, or a fixed upgrade path for every weapon. Use the route list to plan exploration, then record the displayed ability, Tarstone compatibility, and upgrade requirements from your own build.
One guides says all eight sidearms count toward a Guns. Lots of Guns achievement and remain available for cleanup after the final boss. That claim is useful for planning, yet the achievement name, completion condition, and post-launch free-roam rules are To be confirmed until the current game version verifies them.
What is confirmed about the sidearm system?
The official game description confirms that Mortal Shell II includes powerful sidearms and strategic weapon upgrades. The route guide adds eight names and their listed areas, covering the prologue, Fainweald, and Mammon. The eight-item scope and achievement claim remain community confirmation rather than an official final inventory list.
Sidearms also matter for enemy defenses. The gameplay shows ranged pressure interacting with shields, while the individual entries connect weapons to ability Tarstones and route-specific pickups. Do not assume every sidearm shares the same range, reload, posture effect, or upgrade cost. Those fields need a current client details.
How should you plan an eight-sidearm sweep?
Collect Nayleshotte during the prologue, then use the route landmarks for the One Legged Wolf Tavern, Flooded Village, Ravaged Hideout, Blackwell Cavern, Sentry’s Grave, Revered Beacon, and Chamber of Becoming. Check the required boss, key, or dungeon condition only where the route explicitly names one. Keep a separate line for every sidearm even when two pickups are close to the same Beacon.
After each pickup, note the displayed weapon description, ability field, compatible Tarstones, and upgrade requirement. This gives the database page a reliable update path and helps compare the weapons without inventing a tier list. Final total, achievement trigger, post-boss cleanup, and best sidearm are To be confirmed.
How should you compare the eight described weapons?
Use the same Shell, upgrade state, target, and distance when testing a sidearm. Record whether it creates space, pressures posture, breaks a shield, or supports a specific route. A weapon that is useful in a dungeon may not have the same value against a boss or a group.
The route names different conditions such as the Damp Key, Bloodcursed Lithopod, Subjugated Guardian, and four tombstones near Sariel. Keep those conditions attached to the individual pickup. The official store page confirms sidearms and upgrades, while final stats, reload behavior, ability effects, and the best weapon remain To be confirmed.
Related Articles
combat
Mortal Shell 2 Enemies and Encounter Combat Tips
Review Mortal Shell 2 enemies shown in gameplay and learn how posture, Harden, shields, sidearms, and careful spacing shape encounters.
combat
Mortal Shell 2 Gloom Farming: Uses, Recovery and Upgrades
Learn what Mortal Shell 2 Gloom is used for, how death recovery works, and what the official Week 1 update changed without an invented farming table.
combat
Mortal Shell 2 Harden Mechanic and Combat Guide
Learn how the Mortal Shell 2 Harden mechanic protects one exchange, creates Break Damage opportunities, and fits beside parry, dodge, and Resolve.
Was this helpful?
Thanks for the feedback!