
Mortal Shell 2 Fainweald Map Fragments Guide
Follow the Mortal Shell 2 Fainweald map fragments from Widow’s Overlook, Ruk statues, teleport pillars, fog clearing, confirmation limits, and route notes.
The Mortal Shell 2 Fainweald map fragments route uses Widow’s Overlook Beacon as its main anchor. Four listed fragments are tied to Ruk statues and pedestals in the region, with teleport pillars and other traversal tools needed for some gaps. Interacting with a pedestal reveals the nearby map section, while exact retail markers and trophy rules are To be confirmed.
How Fainweald fragments work
The map description says the world begins under fog and that simply walking through an area does not remove it. After the prologue, crow markers point toward Ruk statues, where a map item rests on a pedestal. Take the fragment and the connected section becomes visible.
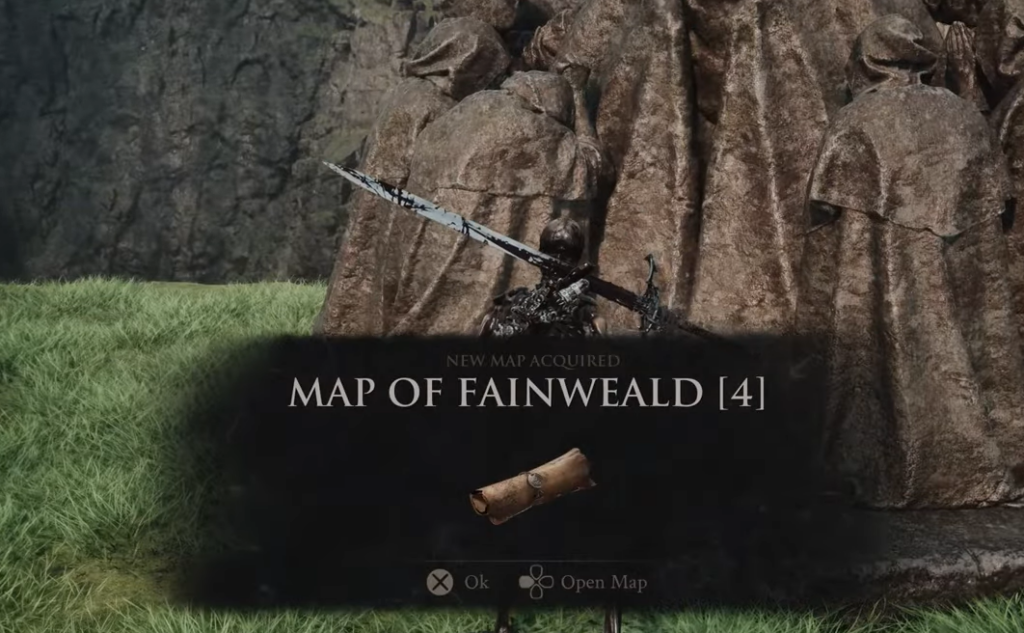
The first Fainweald fragment also has a route-planning role in the current game version. It is said to reveal nearby Corrupted Gates, which connect the map to boss and Beacon progress. That connection comes from a community route description and should remain version-labelled.
First fragment at Widow’s Overlook
From Widow’s Overlook Beacon, turn toward the southeast route and continue down the path. A large arena appears on the right, with the Great Arbiter of Flesh encounter available there. The route recommends leaving that fight for later if you need a Shell before attempting it.
Continue toward the cultist group and the tree with flying enemies. A jump pad to the right of the tree launches you to the hill where Ruk sits on a statue. Interact with the pedestal to collect the first Map of Fainweald.
The remaining Fainweald routes
The description lists Map of Fainweald [4], Map of Fainweald [2], and Map of Fainweald [1] after the first fragment. Return to Widow’s Overlook between runs so the Beacon remains your route anchor. One path cuts through a ruined settlement, while another crosses a gap using teleport pillars.
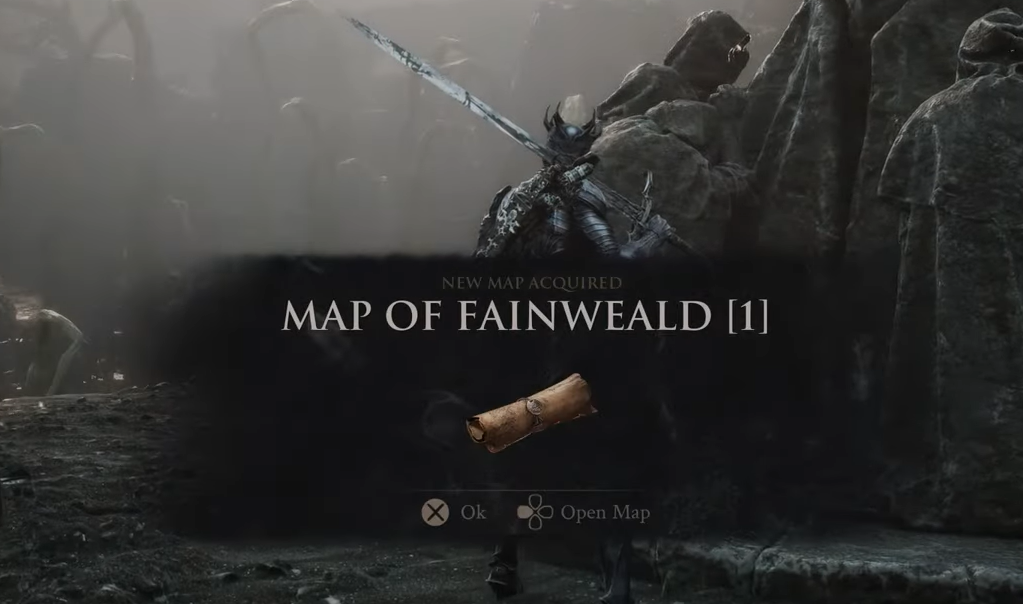
The page does not give every turn, enemy name, or final coordinate in a form that can be independently checked. Use the crow marker, statue, and pedestal as the visible confirmation points. A changed number order or different map label is To be confirmed.
Traversal tools and enemy pressure
Some statues sit across chasms, so the route description connects Fainweald collection with teleport pillars and Bone Gates. Other statues are guarded by enemies or placed above a fortress route. Bring enough healing and a familiar weapon so the map pickup does not become a forced combat test.
Do not assume that clearing a nearby enemy camp reveals the map on its own. The current game version says the pedestal interaction is what triggers the fog change. The exact activation behavior in the final build is To be confirmed.
Confirming the current game version
After each interaction, open the world map and check whether the expected fog section has cleared. If one area remains hidden, follow the remaining crow marker and look for a Ruk statue that has not been checked. Keep a simple record of the fragment label, Beacon, statue route, and pedestal status.
The combined description lists 11 fragments across Fainweald and Mammon and connects the full set to a Sat Nav trophy. This page covers the four Fainweald entries in that description. The complete count and trophy trigger remain To be confirmed until the current game build verifies them.
Why do Fainweald guides show four or five entries?
The current game version does not agree on the final Fainweald grouping. One version lists Map of Fainweald first, then entries marked four, two, and one, which produces four displayed Fainweald entries. An earlier interactive map lists five Fainweald routes, and another guide uses different regional numbering.
Keep the conflict visible instead of silently deleting one route. The global collection target is described as 11 Map Fragments, yet the official Steam and PlayStack pages do not publish the regional breakdown. The final Fainweald count, labels, and exact Sat Nav requirement are To be confirmed.
How should you use the current route notes?
Start from Widow’s Overlook and follow each crow marker or map hint to a Ruk statue. Record the label shown by the current map before interacting with the pedestal, then check whether the fog clears. If the map’s numbering differs from the route, keep the client label and note the page discrepancy.
Do not turn a four-entry table into a claim that the fifth route does not exist. Check Fainweald against the Mammon page and the current trophy state, since a regional mismatch may be a naming issue rather than a missing pickup. Until the client resolves the difference, publish the routes as community confirmation with the count marked To be confirmed.
What do the Fainweald landmarks tell you?
Widow’s Overlook is the strongest starting anchor in the routes. Other descriptions connect fragments with One Legged Wolf, Mushroom Village, Ruk statues, teleport pillars, Bone Gates, and fortress paths. These landmarks are more useful than a copied number because they let a player check whether the current map uses the same regional structure.
The pedestal interaction is the important action in the route notes. The map fog is described to clear after the correct statue and pedestal are used, which gives the player a visible confirmation. Do not assume a fragment has been counted simply because a crow marker or a nearby statue appears.
How should you reconcile the Fainweald list?
Keep the route’s original label, the client’s displayed label, and the region in three separate fields. If a guide’s first entry is called Map of Fainweald and a second page uses a bracketed number, do not silently renumber the route. This makes it possible to compare the four-entry table with the older five-route map version.
The full description connects Fainweald and Mammon to 11 Map Fragments and a Sat Nav trophy. The official pages do not publish the list or the trophy rule, so the regional total, final naming, and reward trigger remain To be confirmed. A current-game screenshot or completion response is needed before the conflict can be closed.
What is the safest Fainweald answer today?
Use Widow’s Overlook and the Ruk statue routes as the reliable starting information. Keep the four-entry and five-route descriptions visible, and let the current map label decide the working checklist. Do not present either count as the final retail answer until the client or trophy state settles the conflict.
The current game version supports fog clearing after the pedestal interaction and a wider 11-fragment community route. It does not prove every coordinate, missable rule, or reward condition. Those details remain To be confirmed.
Related Articles
combat
Mortal Shell 2 Enemies and Encounter Combat Tips
Review Mortal Shell 2 enemies shown in gameplay and learn how posture, Harden, shields, sidearms, and careful spacing shape encounters.
combat
Mortal Shell 2 Gloom Farming: Uses, Recovery and Upgrades
Learn what Mortal Shell 2 Gloom is used for, how death recovery works, and what the official Week 1 update changed without an invented farming table.
combat
Mortal Shell 2 Harden Mechanic and Combat Guide
Learn how the Mortal Shell 2 Harden mechanic protects one exchange, creates Break Damage opportunities, and fits beside parry, dodge, and Resolve.
Was this helpful?
Thanks for the feedback!